

Best Scandinavian Toilets (2026)
Toilets4.6
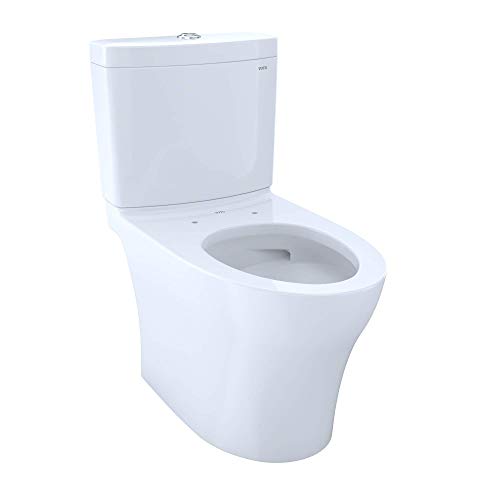
Clean, low-profile silhouettes with real MaP-verified flush performance and efficient dual-flush water use, sized for a minimalist Nordic bathroom without sacrificing function.
Read the guideA wobbly or stuck flush handle is one of the most common toilet complaints. Here is exactly how to diagnose the cause, tighten or replace the handle yourself in under 30 minutes, and avoid the same problem coming back.
Research updated June 2026.
A loose toilet handle is almost always caused by a worn trip lever, a corroded or reverse-threaded nut, or a snapped lift chain. In most cases you can fix it in under 20 minutes with a wrench and a few dollars in parts. If the handle is cracked or corroded beyond tightening, a universal replacement handle costs around $8 to $20 at any hardware store.
The toilet handle (also called the trip lever arm) connects to a lift chain or lift wire inside the tank that raises the flapper or flush valve when you press down. Without a functioning handle the flapper will not open, water will not rush into the bowl, and nothing gets flushed. Every flush mechanism from a basic Kohler Highline to a TOTO Drake relies on the same lever-and-chain principle in gravity-flush models.
The handle assembly is made up of three components: the external lever you press, the trip lever arm that extends inside the tank, and the mounting nut that holds the whole assembly to the tank wall. Modern toilets from American Standard, TOTO, Kohler, Woodbridge, Swiss Madison, and Gerber all use a variation of this setup, though some dual-flush models and pressure-assist designs use push-button actuators instead. This guide focuses on the standard lever handle found on the vast majority of residential toilets.
The three most frequent causes are a loose or corroded mounting nut, a worn or cracked plastic trip lever arm, and a disconnected or tangled lift chain. Age, hard water mineral buildup, and repeated use gradually loosen the nut or degrade the plastic arm. Older brass hardware corrodes; newer plastic parts become brittle after years of water exposure.
Here is a breakdown of every cause you might encounter:
Plumbers consistently report that toilet handle failures are one of the most straightforward DIY plumbing repairs. The average homeowner can complete the job without prior plumbing experience. The only caution is to remember that the tank mounting nut threads in reverse (left-hand thread) on almost all brands, so you turn it clockwise to loosen it, not counter-clockwise as you would expect.
Remove the tank lid and observe what happens when you press the handle. If the trip lever arm moves freely but does not lift the chain, the chain is disconnected. If the arm itself wobbles on the tank wall, the mounting nut is loose. If the arm breaks or is already cracked visibly, you need a replacement handle assembly. Watching the mechanism in action for one flush cycle tells you exactly what is wrong.
Follow this diagnostic sequence:
Reach inside the tank, grasp the mounting nut behind the porcelain wall, and turn it clockwise (the reverse of standard thread direction used on almost all toilet handles). Tighten firmly by hand first, then snug it one additional quarter-turn with pliers or an adjustable wrench. Do not over-tighten or you risk cracking the porcelain tank wall.
Tools you need: adjustable wrench or slip-joint pliers, a dry cloth.
Step-by-step tightening procedure:
If the nut is plastic and strips, or if it is corroded brass that will not turn, do not force it. A cracked tank wall turns a $10 repair into a $200+ replacement job. In that case, replace the entire handle assembly.
Turn off the water, flush to empty the tank, disconnect the lift chain from the trip lever arm, unscrew the old mounting nut counter-clockwise (reverse of the tightening direction), remove the old handle, slide the new handle through the hole, reattach the mounting nut clockwise, clip the chain to the trip lever arm at the hole that leaves 0.5 to 1 inch of slack, and restore water. The entire process typically takes 15 to 25 minutes.
What you need:
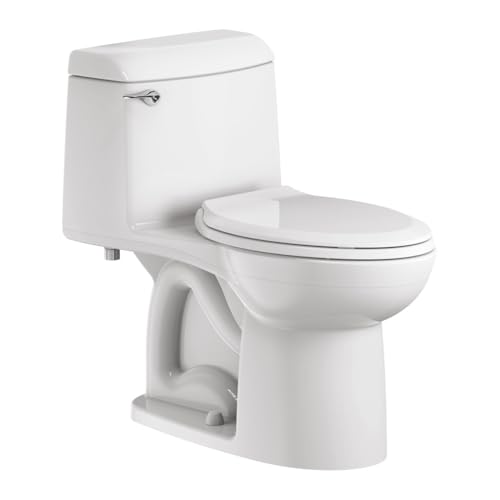
Licensed plumbers note that the single most common mistake in handle replacement is getting the chain length wrong. The right adjustment is the hole that leaves just enough slack so the chain lies in a gentle curve at rest. If you have a TOTO Drake or American Standard Champion 4, the trip lever arm often has 5 or more chain attachment holes, giving you fine-grained control over chain length. Start at the middle hole and adjust from there based on flush performance.
Not every handle fits every toilet. Before buying, check three things:
| Brand / Model | Mount Location | Thread Type | Arm Material | Universal Compatible? | Check Price |
|---|---|---|---|---|---|
| TOTO Drake / Drake II | Left side | Reverse (left-hand) | Chrome-plated metal | Yes, with arm trimming | Check price |
| TOTO UltraMax II | Left side | Reverse (left-hand) | Chrome-plated metal | Yes, with arm trimming | Check price |
| TOTO Aquia IV | Top push button (dual flush) | N/A (actuator) | ABS plastic / chrome | No -- TOTO OEM only | Check price |
| Kohler Highline / Cimarron | Left side or front | Reverse (left-hand) | Metal or plastic | Yes (Kohler fit kits available) | Check price |
| American Standard Champion 4 | Front | Reverse (left-hand) | Plastic arm | Yes, most universal handles | Check price |
| American Standard Cadet 3 | Left side | Reverse (left-hand) | Plastic arm | Yes | Check price |
| Woodbridge T-0001 | Front | Reverse (left-hand) | Stainless/chrome | Yes, front-mount universal | Check price |
| Swiss Madison Ivy / St. Tropez | Front or side (varies) | Reverse (left-hand) | Chrome plastic | Check model; some are OEM-specific | Check price |
| Gerber Ultra Flush | Left side | Reverse (left-hand) | Plastic arm | Yes | Check price |
Chain length is the most overlooked step and the one that causes problems afterward. The correct setup:
Ghost flushing -- where the toilet randomly refills without anyone pressing the handle -- is often caused by a chain that has drifted under the flapper. If you have just done a handle replacement and notice the toilet running after the fact, this is the first thing to check. You can find more detail in our article on ghost flushing causes and fixes.
Some toilets from TOTO (Aquia IV), Swiss Madison, and Woodbridge use a top-mounted push-button actuator instead of a side lever. These work differently. The buttons directly depress a tower-style flush valve rather than pulling a chain. If a push button sticks or cracks:
If your toilet is an EPA WaterSense certified dual-flush model and the actuator is failing, confirm the replacement part matches the GPF (gallons per flush) rating -- typically 1.28 GPF for the full flush and 0.8 GPF for the half flush -- so you do not accidentally downgrade the water efficiency.
Most handle repairs are well within DIY capability. Call a plumber if:
Plumbing professionals say they see cracked tanks most often when homeowners try to muscle off corroded brass nuts on older American Standard or Kohler models. The safest approach with a stubborn nut is to apply a penetrating oil like WD-40 to the nut threads inside the tank, wait 30 minutes, then try again before applying any real torque. If it still will not move, removing the entire flush valve assembly through the larger opening at the bottom of the tank can sometimes give better leverage.
A toilet handle assembly that fails in 5 years in one home may last 20 years in another. The difference usually comes down to water quality and cleaning habits:
If your handle repair is part of a broader evaluation of your toilet's condition, our best flushing toilets guide covers top-rated models from TOTO, Kohler, American Standard, Woodbridge, and Gerber with MaP flush-test scores and EPA WaterSense certification data, if you are deciding whether to repair or replace.
| Repair Type | DIY Parts Cost | Time Required | Plumber Cost (Labor + Parts) | Difficulty |
|---|---|---|---|---|
| Tighten mounting nut | $0 | 5 min | $75 to $150 (service call minimum) | Easy |
| Replace lift chain only | $3 to $8 | 10 min | $75 to $150 | Easy |
| Universal handle replacement | $8 to $15 | 15 to 20 min | $80 to $175 | Easy |
| OEM brand handle replacement | $15 to $40 | 15 to 20 min | $100 to $200 | Easy |
| Push-button actuator (dual flush) | $20 to $60 | 20 to 30 min | $120 to $250 | Moderate |
| Full flush valve + handle combo | $25 to $80 | 45 to 90 min | $150 to $350 | Moderate |
As the table shows, even a full handle replacement is an extremely inexpensive DIY repair. The only scenario where spending more makes sense is if your toilet is also showing other signs of wear -- a running fill valve, a cracked flapper seat, or bowl staining that signals mineral damage to the porcelain. In that case, you may want to read our article on toilet repair cost guide to decide whether a full replacement is more economical long-term.
A handle that spins freely means the mounting nut inside the tank has come completely loose or stripped. Reach inside the tank, locate the nut behind the tank wall at the handle shaft, and tighten it clockwise (reverse thread). If the nut is stripped or cracked, replace the entire handle assembly.
A handle that stays depressed is almost always caused by a lift chain that is too short, pulling the flapper open even after you release the lever. Open the tank, find where the chain clips to the trip lever arm, and move it to a hole that gives slightly more slack -- about 0.5 to 1 inch at rest.
Clockwise to tighten. Toilet handle mounting nuts use reverse (left-hand) threading, which is opposite to most standard hardware. Turning counter-clockwise loosens it; clockwise tightens it. This is true for TOTO, Kohler, American Standard, Woodbridge, Gerber, and most other brands.
Universal handles fit the majority of standard two-piece gravity-flush toilets. They will not work on TOTO Aquia IV or most dual-flush push-button actuators, and they may require trimming the arm to length on some models. Always confirm the mount location (front, left-side, or angled) matches your tank hole position before buying.
Most people complete a handle replacement in 15 to 25 minutes on their first attempt. The process is straightforward: turn off water, flush the tank, disconnect the chain, remove the old nut and arm, install the new one, reattach the chain, restore water, and test. No special skills are required.
The handle can wobble on the tank wall even when the lift chain is still connected and functional. This means the mounting nut is loose but not completely detached. Tighten the nut before it loosens further and the arm begins shifting enough to misalign the chain.
Yes. Remove the tank lid, reach in, and manually lift the flapper (the rubber dome at the bottom of the tank) using the lift chain or directly by hand. This flushes the toilet without the handle. It is a temporary measure -- fix or replace the handle as soon as possible to avoid repeated lid removal.
The toilet handle is the external lever or button you press. The trip lever arm is the internal extension that reaches into the tank and connects to the lift chain. They are part of the same assembly and are typically sold together as a unit. When people say "replace the toilet handle," they usually mean the entire handle-and-arm assembly.
A stiff handle is often caused by corrosion or mineral buildup on the pivot point where the arm passes through the tank hole. Remove the assembly, clean the shaft with a stiff brush and white vinegar, dry thoroughly, and reinstall. If the arm is bent, straighten or replace it. Some older Kohler and American Standard models develop this problem after years of hard-water exposure.
For TOTO Drake, Drake II, UltraMax II, and Kohler Cimarron, OEM handles are worth the extra few dollars because they fit exactly without adjustment. For American Standard Cadet 3, Champion 4, and Woodbridge T-0001, universal handles from Fluidmaster or Korky are widely reported to work well and cost significantly less. Gerber models vary -- check the part number in your tank.
After tightening or installing a new handle, add a thin layer of plumber's thread tape to the handle shaft threads before threading on the nut. This creates friction that resists vibration-induced loosening. Check the nut once a year as part of basic toilet maintenance.
Yes. A broken or misaligned trip lever arm can leave the lift chain partially taut even when the handle is at rest, keeping the flapper cracked open. Water then trickles continuously into the bowl while the fill valve runs to compensate. Fixing the handle and re-adjusting the chain usually resolves the running immediately.
You need an adjustable wrench or slip-joint pliers, and optionally a sponge or old towel to absorb leftover water from the tank. No soldering, no specialized tools, and no plumber's putty required. The job is intentionally simple enough for homeowners to handle without professional help.
The TOTO Drake uses a left-side mounted handle with a reverse-thread nut. Turn off the water, flush to empty, disconnect the lift chain from the trip lever, turn the interior nut counter-clockwise to remove (counter-clockwise loosens on Drake handles because the reverse thread runs the opposite way for loosening), slide out the old arm, insert the new arm and nut, tighten clockwise from inside the tank, and reattach the chain. TOTO's G-Max flush system uses a specific arm length, so an OEM TOTO replacement is recommended for best results.
Usually not. A loose handle is almost always an isolated mechanical issue caused by nut loosening or part wear. However, if you are also experiencing ghost flushing, a running fill valve, or slow tank fill times, the toilet's internal components may need a broader inspection. Those issues are separate from the handle but worth addressing at the same time.
Not always. Lever-style dual-flush handles (common on some Woodbridge and Gerber models) follow the same process as single-flush lever handles. Push-button dual-flush actuators (common on TOTO Aquia IV and Swiss Madison models) are replaced differently -- by unscrewing or unclipping the actuator assembly from the tank lid rather than working with a nut and chain system.
The ideal slack is 0.5 to 1 inch measured as the chain lying in a gentle curve when the handle is at rest. If the chain hangs taught at rest, the flapper will not fully seal and the toilet will run constantly. If the chain has several inches of slack, it may not pull the flapper fully open and the toilet will flush weakly or not at all.
Yes. Hard water deposits (calcium and magnesium) accumulate on brass handle nuts and can eventually seize them in place. The same deposits can stiffen the pivot point of the arm, making the handle hard to press. White vinegar applied to affected metal parts and allowed to soak for 30 to 60 minutes can dissolve light mineral buildup before it causes permanent failure.
No. MaP (Maximum Performance) testing measures how effectively a toilet removes waste from the bowl per flush. This is determined by the flush valve size, trapway diameter, water volume (GPF), and bowl design -- not by the handle mechanism. A new handle restores proper mechanical function but does not change the hydraulic performance of the flush system itself.
The handle itself is not the component that carries EPA WaterSense certification -- the toilet's flush volume (GPF) does. As long as your replacement handle activates the same flush valve and the tank is still set to the original water level, the toilet will continue to flush at its certified GPF. WaterSense-certified toilets flush at 1.28 GPF or less. A handle swap does not change that.
A loose or broken toilet handle is one of the most fixable plumbing problems in the home. In the majority of cases, tightening the reverse-thread mounting nut or swapping in a $10 universal handle assembly solves the problem completely in under 30 minutes. Start with a visual diagnosis inside the tank before buying anything -- you may simply need to clip the chain back to the trip lever arm. For TOTO Drake, Kohler Highline, American Standard Champion 4, Woodbridge T-0001, or Gerber models, a brand-matched or universal replacement handle will restore full flushing function. Reserve the call to a plumber for the rare situation where the tank porcelain itself is cracked or a concealed-cistern wall-hung system is involved.
How we rank & our data sources
We do not run physical lab tests. Rankings are built from published, verifiable data and real owner feedback, never paid placement.
Researched by Derek Whitman · Last updated June 28, 2026 · Our review method
Clean, low-profile silhouettes with real MaP-verified flush performance and efficient dual-flush water use, sized for a minimalist Nordic bathroom without sacrificing function.
Read the guide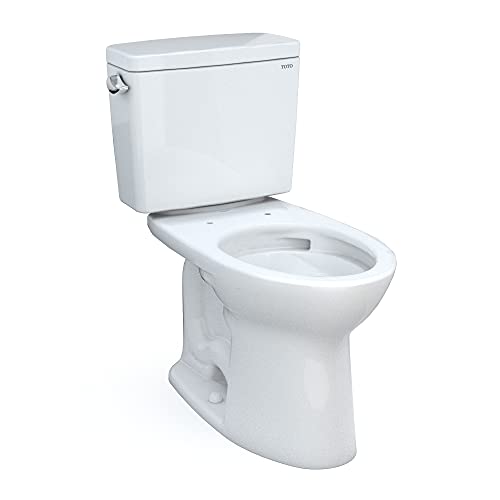
Classic two-piece toilets with tall tanks and elegant, understated proportions, the quiet country-house look that suits a traditional English bathroom without tipping…
Read the guide
Clean-lined skirted and one-piece toilets with simple geometry and low profiles that suit a broad East Asian-influenced bathroom, backed by real verified…
Read the guide